The decision to buy a bumper and winch combo goes back to early 2018. The family took a trip to Apalachicola NF in Florida. After a few days of exploring we got high centered and stuck for several hours until a good Samaritan stopped and helped us out. If we had a winch we would have been out of that situation in minutes instead of hours. Since we typically travel solo, a winch mount was always in the plans for the Tacoma but we had other upgrades to do or didn’t have funds. Also, for the longest time I could not decide if I wanted a hidden winch mount or a full fledged bumper. I found Dissent Offroad on Tacomaworld and began following his social media and website (Dissentoffroad.com) as I researched the company, their reputation, quality, and growth. As you all know by now, I value Made in the USA products and working with small businesses. I got in touch with Ben in October 2019 and placed my order. I received the bumper and Come-Up winch in March 2020 and got to installing the newest addition to the Tacoma. There are no write-ups for the Tacoma bumper, that I know of, so I hope this helps you install your Dissent Offroad bumper.

Kit Contents & Options
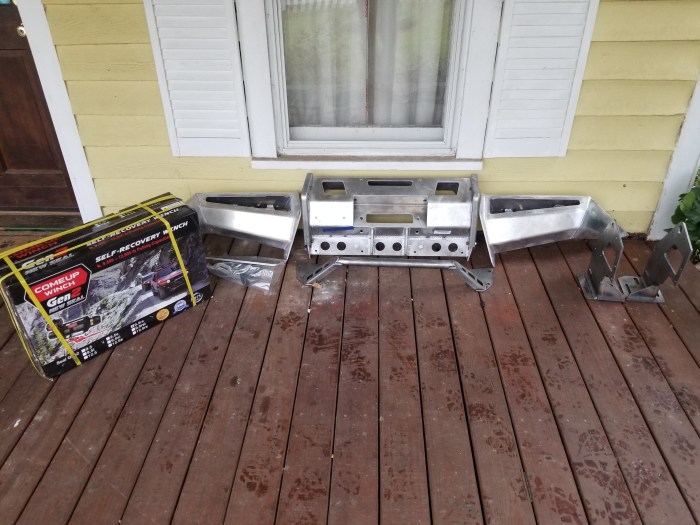
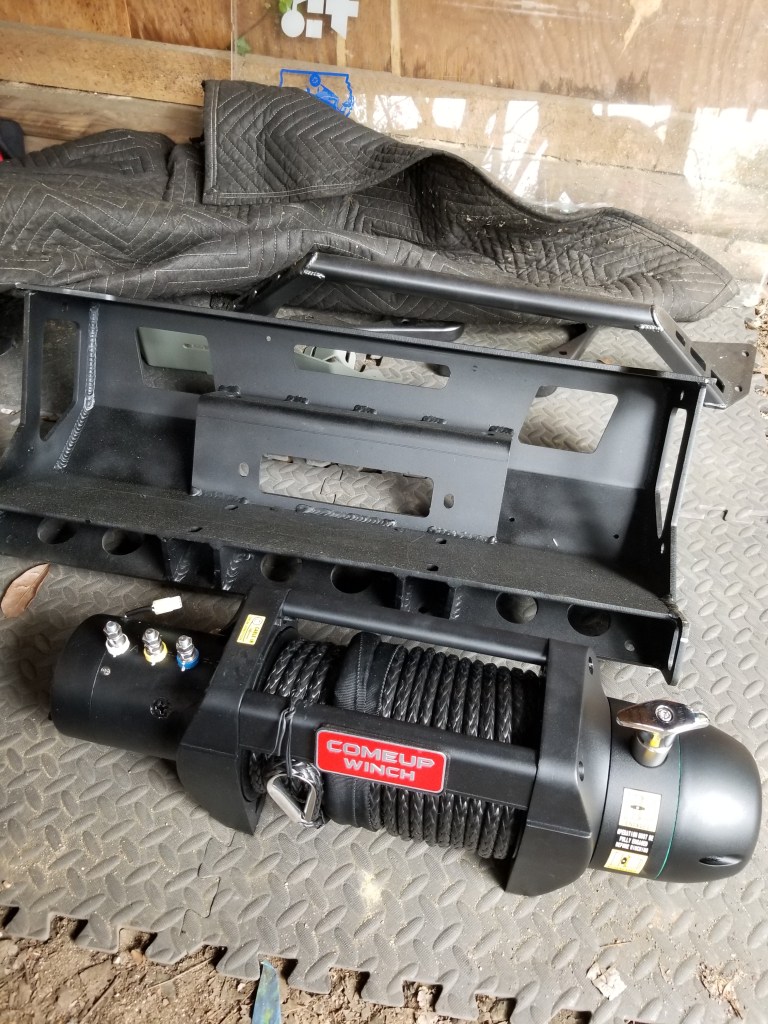
Everything came nicely packaged and bolted to a wood pallet.
-Dissent Offroad V3 Bumper in aluminum with optional stinger, all the mounting hardware included
-Come-up 9000rs winch with mounting hardware and wiring
-Baja Designs Squadron Sport amber lights with driving combo lens
PREPARATION
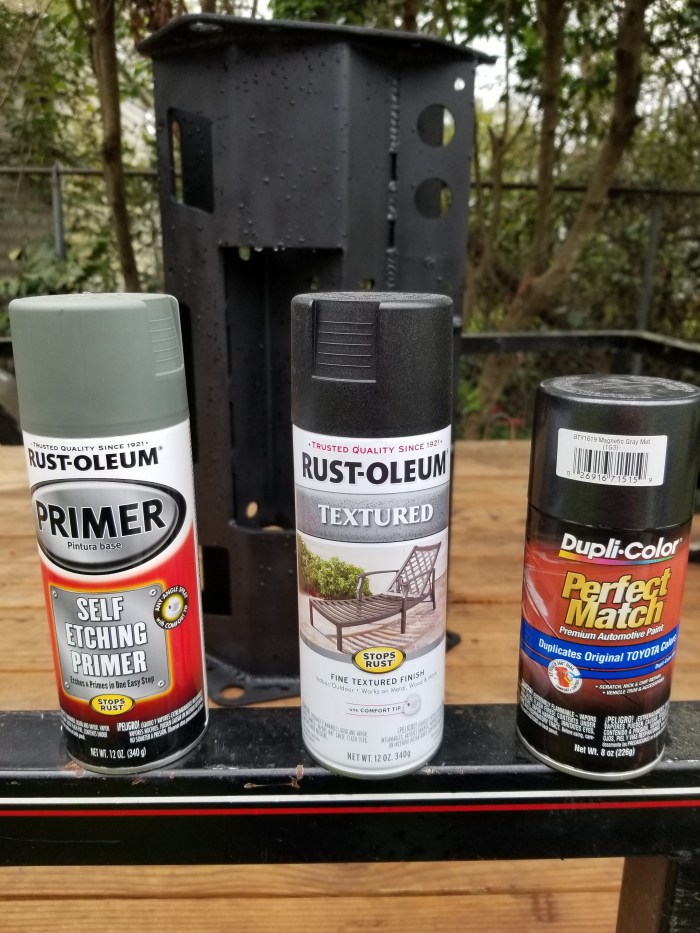
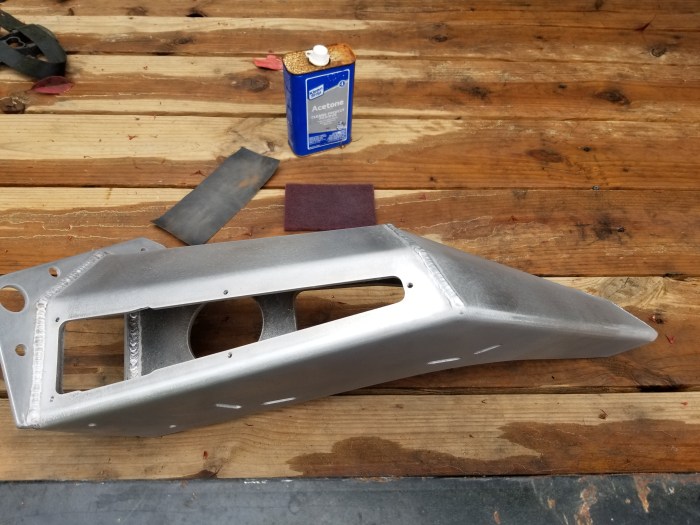
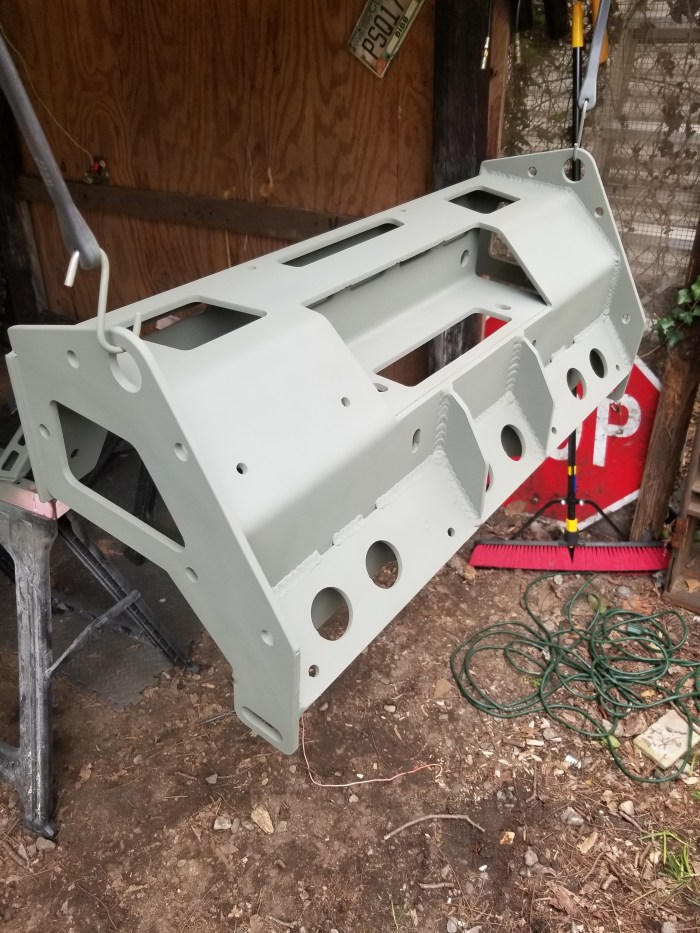
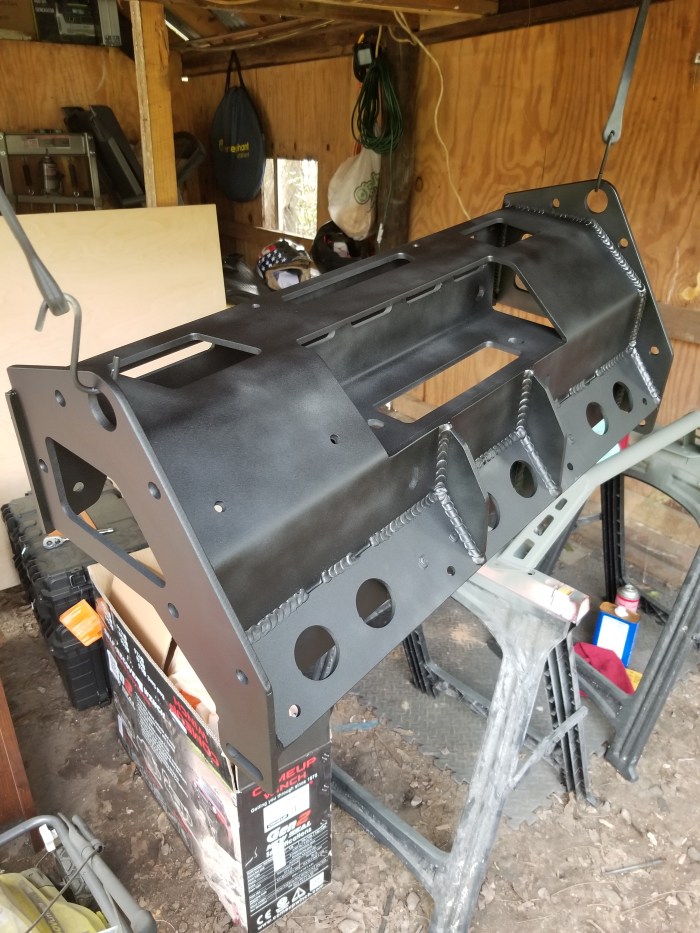
Since my bumper was being shipped from California to Georgia, Ben advised me to order bare metal and paint it locally. I ended up painting the bumper myself, since funds became tight. I used a variety of spray paints for the desired look, including self etching primer rustoleum, textured black rustoleum, and magnetic gray metallic duplicolor color match. The rest is basic paint prep; sand/etch the metal, wipe with alcohol, and paint.
Other prep involved was laying all of the parts out and determining what I had and where it went. There are a plethora of bolts and parts to these bumpers. After a few calls/texts to Ben I was able to determine what went where and started taking the Tacoma OEM bumper apart.

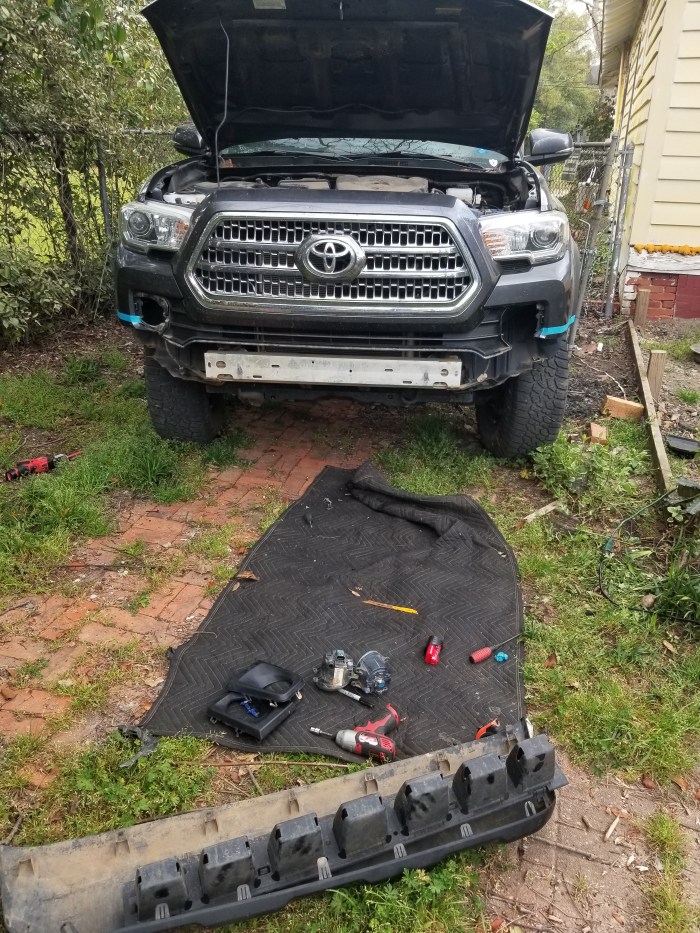
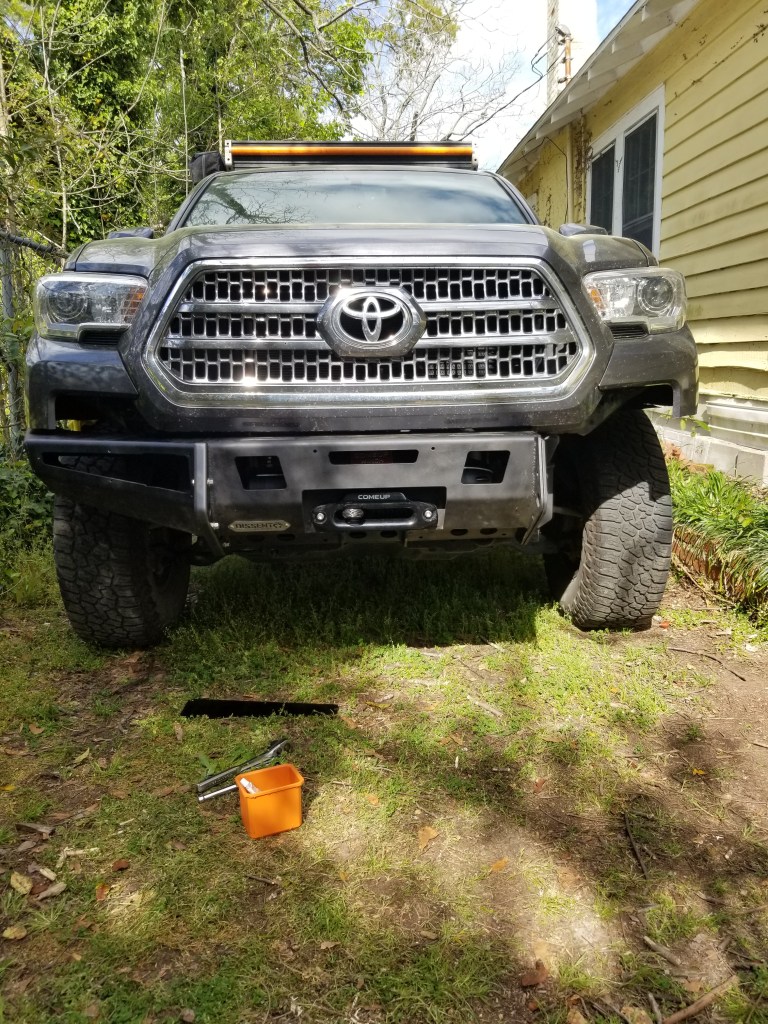
Getting the Tacoma ready for install
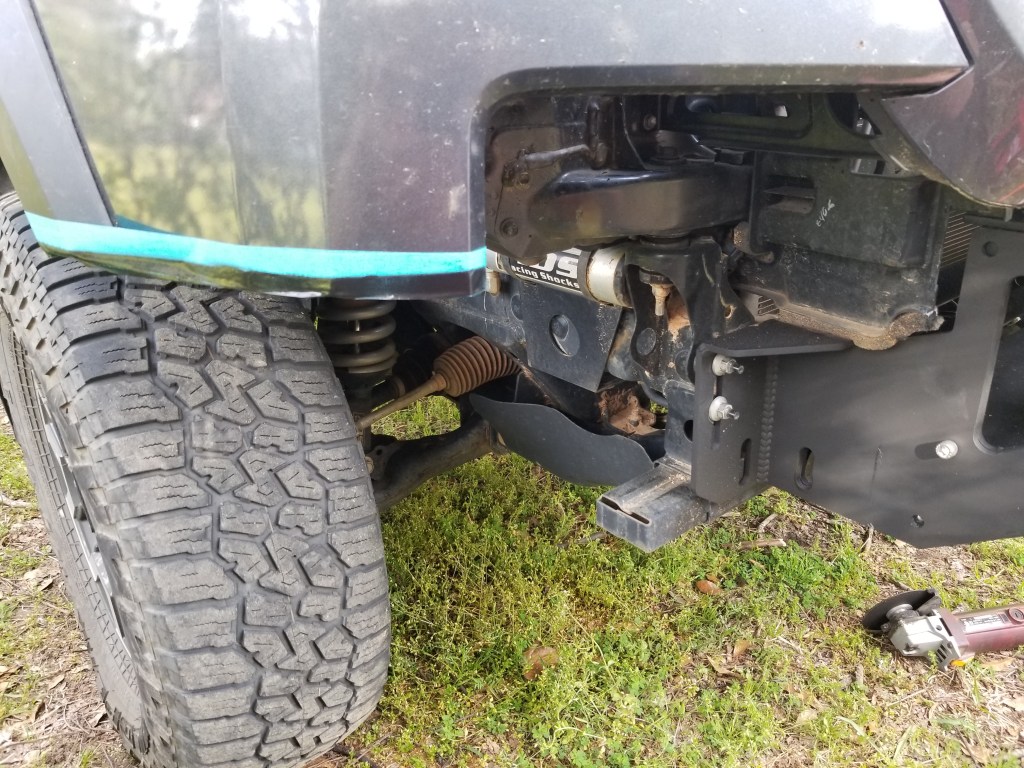
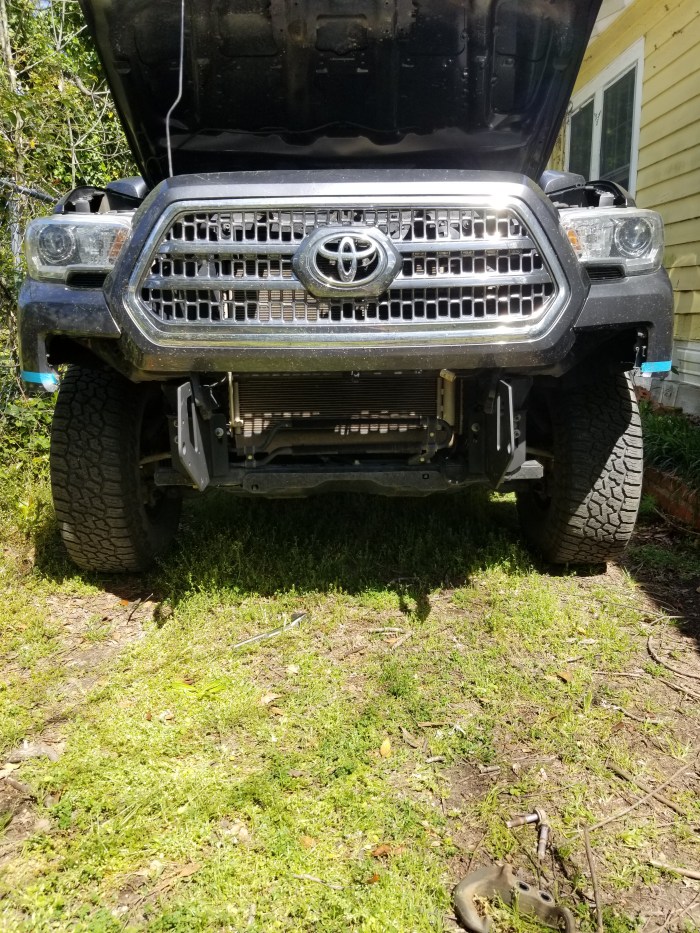
Looking at the bumper, its pretty obvious that the OEM bumper will have to be cut. This is true for most 3rd gen Tacoma bumpers. This process is not terribly difficult if you measure twice and maybe a 3rd time to make sure everything is straight.
To get started, I unbolted every piece that I could. This includes the lower valence, fog lights, fog light housings, crush bar (behind valence), and frame caps. Below are images of the steps to unbolting the OEM parts.
Now you want to prep for the cutting. For this, I reached out to Ben again to see where they typically cut and he was able to send me a picture and measurement. I also looked at a couple pictures of the bumper installed on other Tacomas to get the general idea.
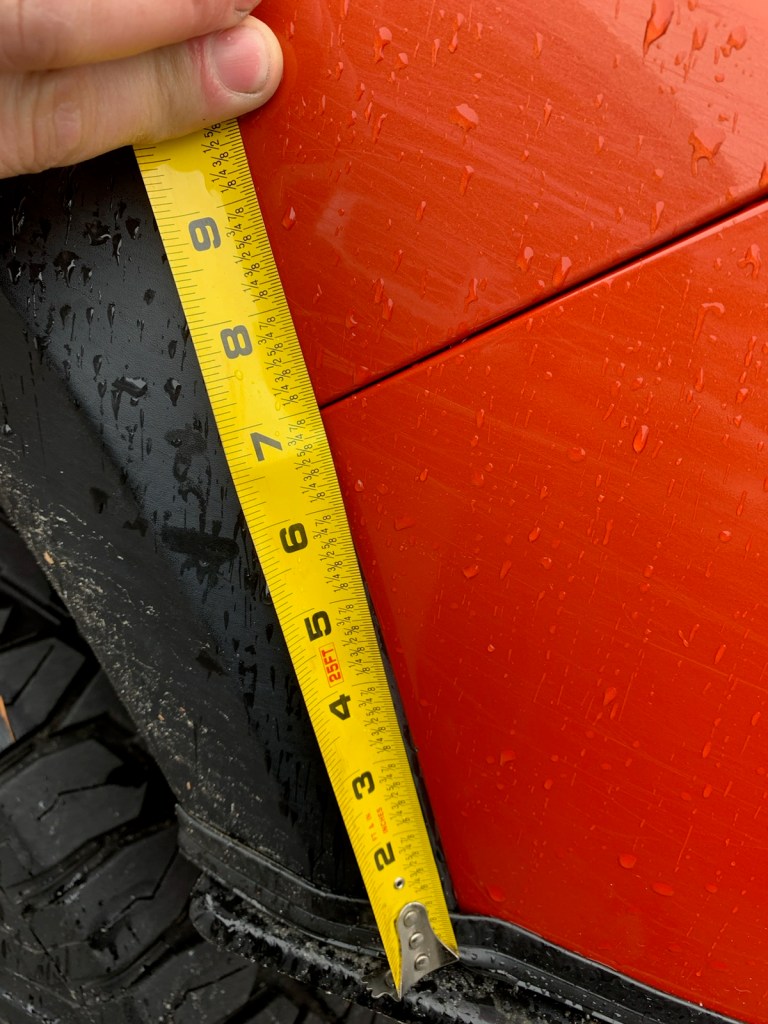
Once ready, I used blue painters tape mark off the area on the bumper. I then used a straight edge to paint a line on the painters tape to mark exactly where I would cut.
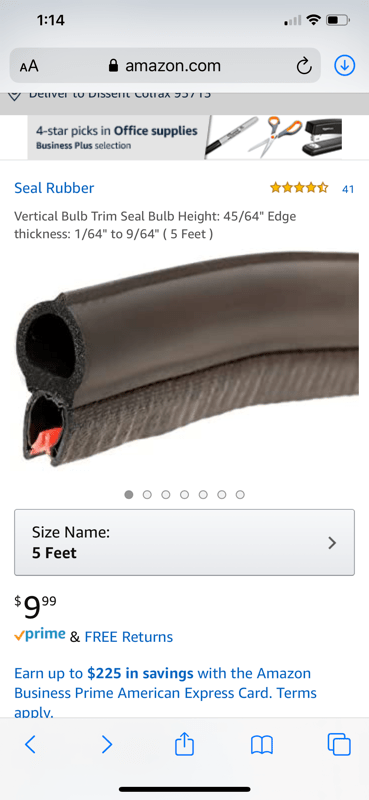
I used a good jigsaw for the majority of the cutting, this worked well for me and leaves a nice cut edge. Dont do your final cut until you line the bumper wings up, adjust them, and then measure to get the cut ~1/2″ above the bumper to mark the final cut. Once the cutting is complete, use a rubber liner to cover the cut and give it a clean look. Dissent offroad recommends the bulb seal in the picture.
Winch Install
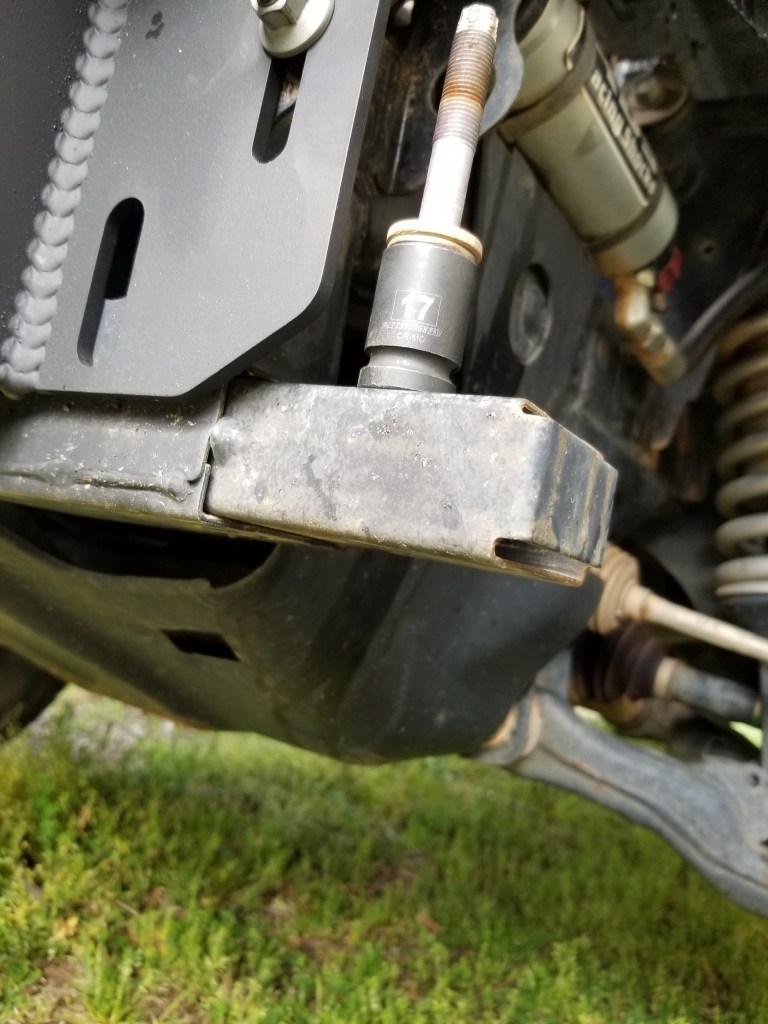
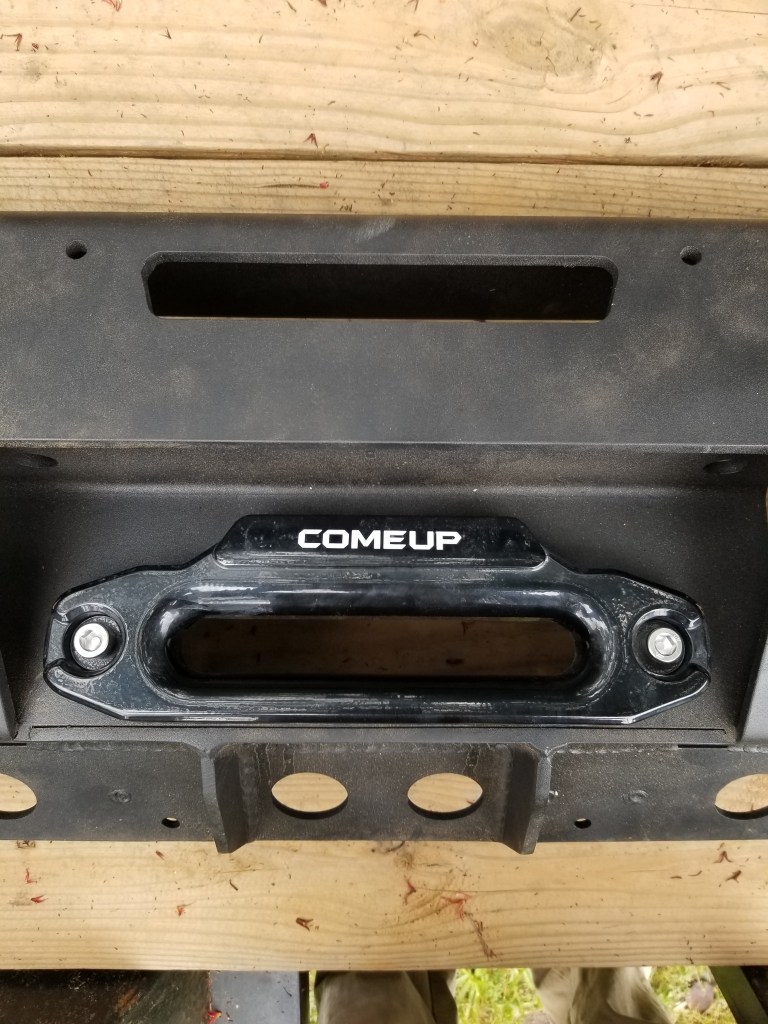
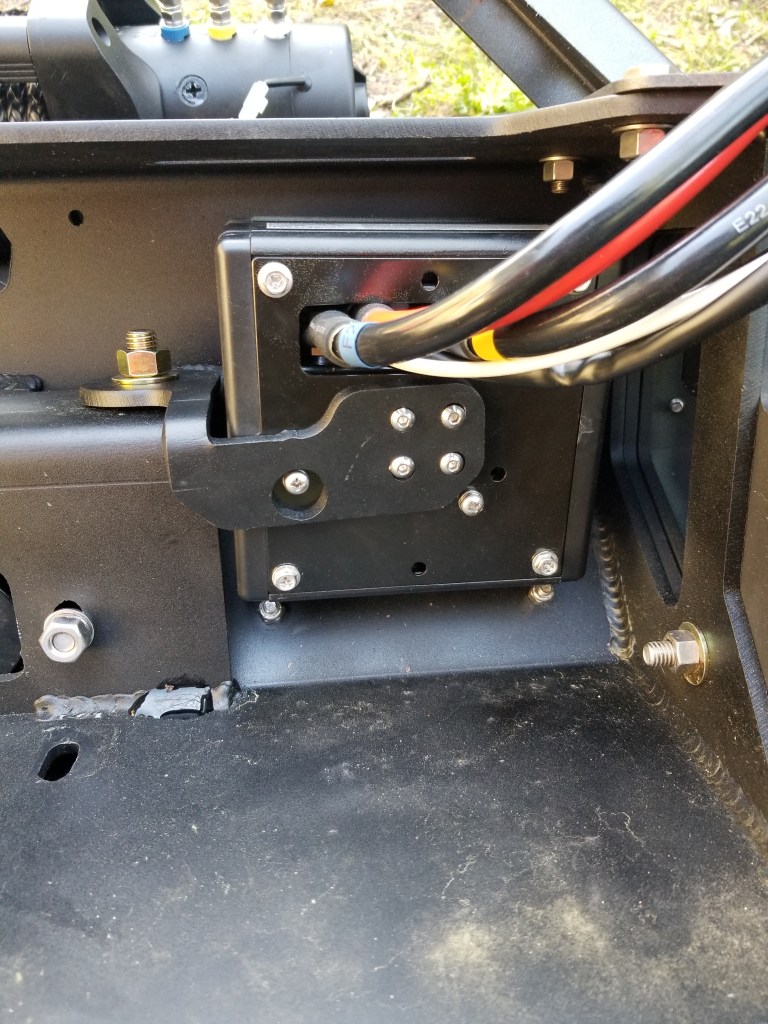
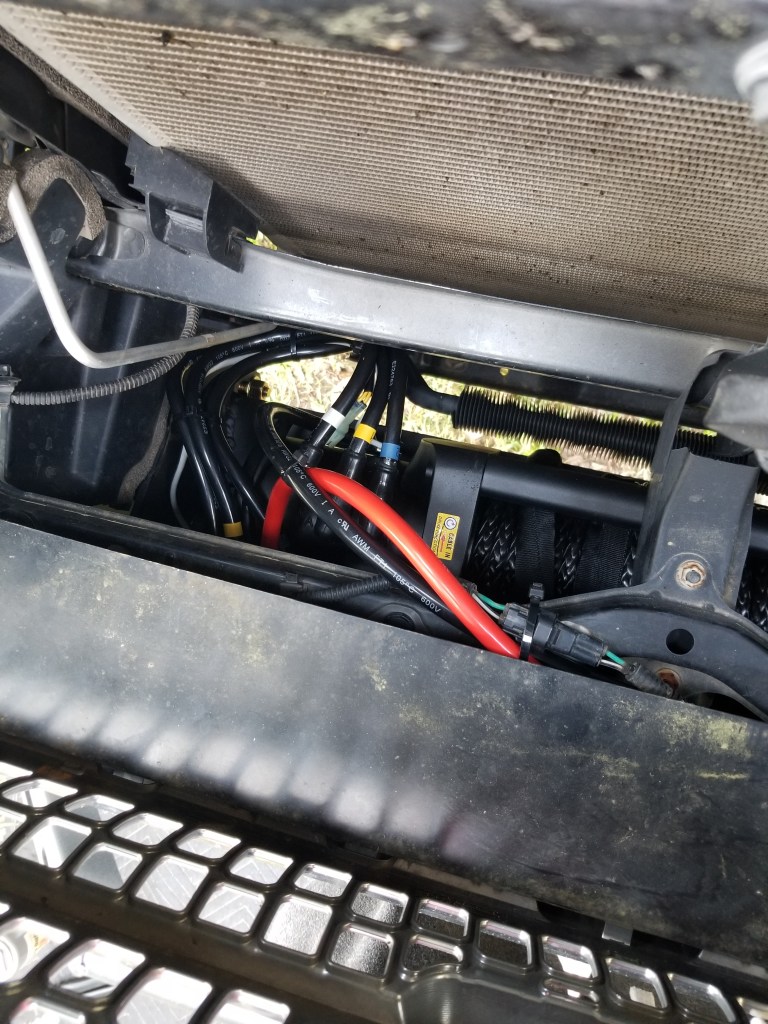
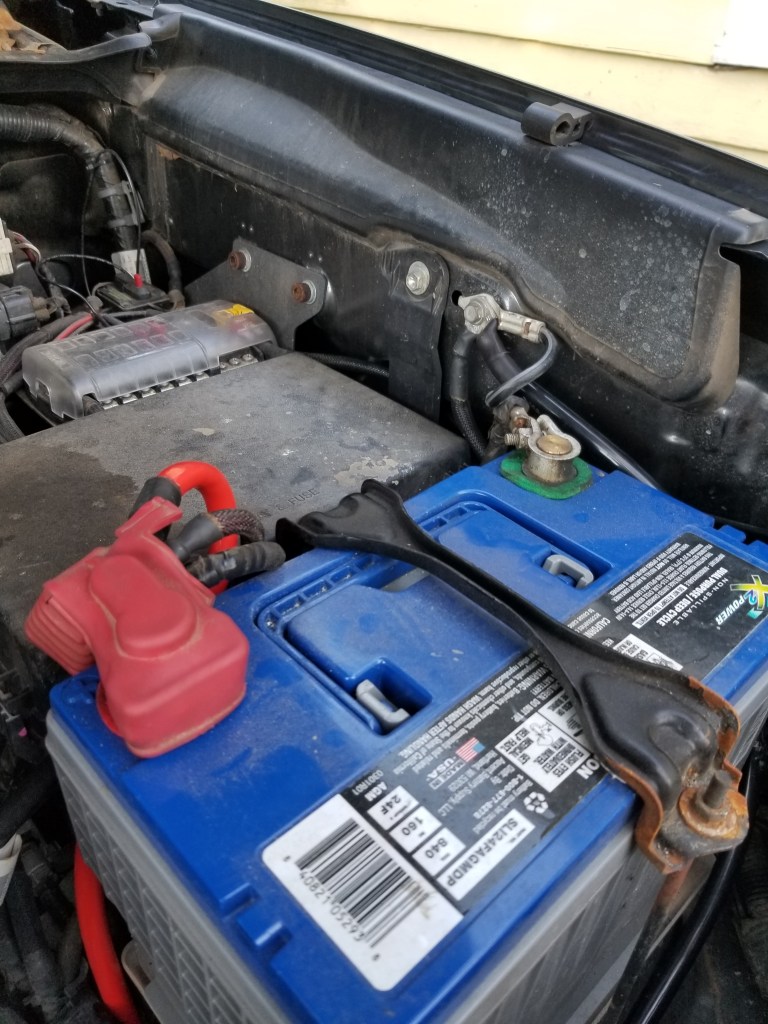
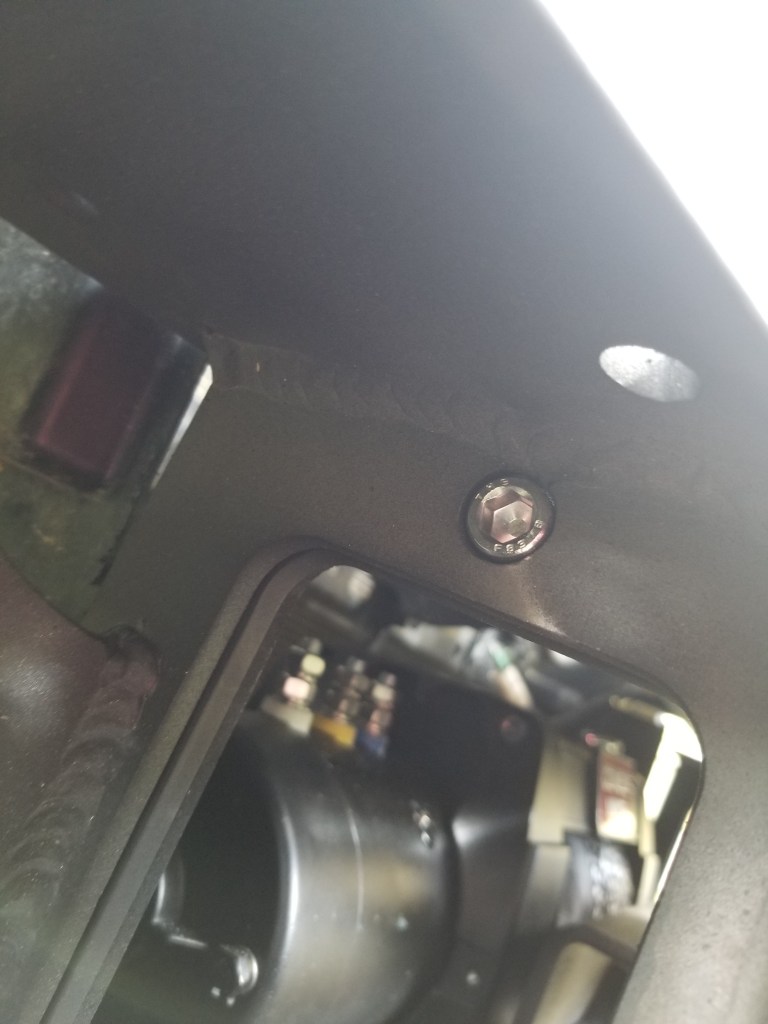
Winch install is pretty straight forward. Youll want to bolt the winch in prior to bolting the bumper on, since there is not room to maneuver the winch into place after the bumper in installed. The winch bolts to the bumper via 4 bolts (17mm). The fairlead requires 2 larger allen head bolts and there is a small aluminum bracket with 4 small allen head screws (4mm) and 1 bolt (19mm) that Dissent Offroad provides to move the winch control box into a nice spot so that the wired winch port is easily accessible. I ran the wires through by the radiator support, following the OEM wire loom.


Bumper install
By this point the bumper is painted, the winch is bolted to the bumper, the OEM bumper has first draft cut and everything else is unbolted to be out of the way.
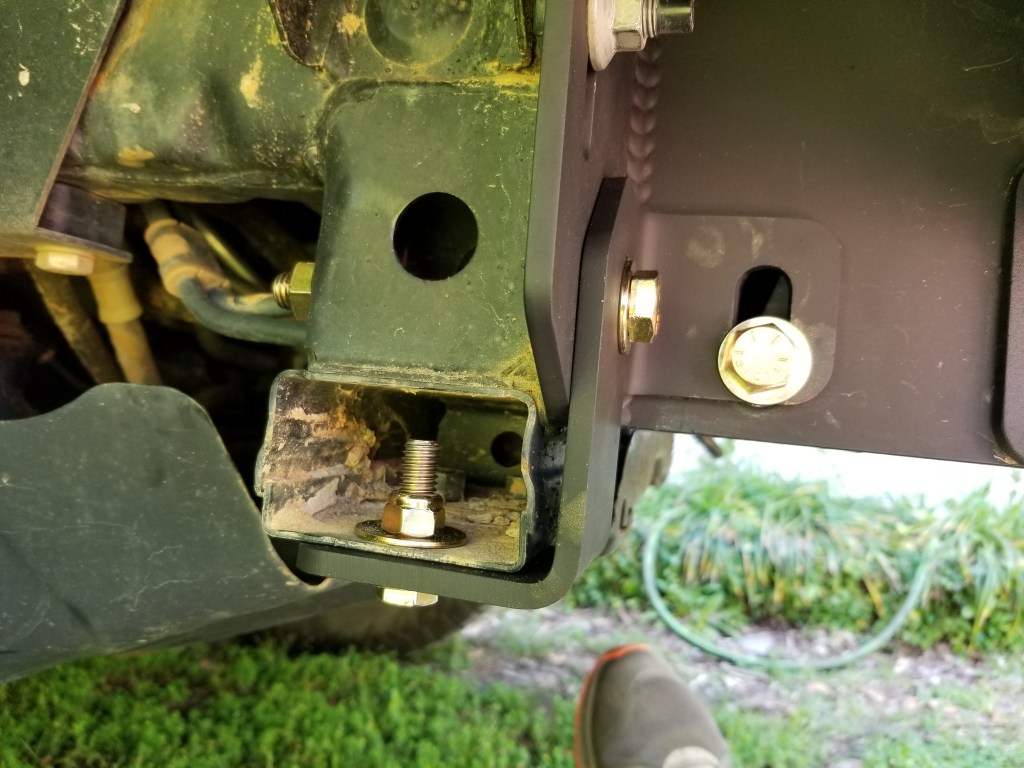
- The bumper to frame mounts use the factory studs and nuts to mount (14mm). There are 3 per side and sandwich the frame mounts to the frame, leave these hand tight to make step 2 easier.
2. The optional stinger mounts to the center section via 4 bolts. I installed the stinger after the center section was installed but I would recommend doing so before. This will give you a method to hold the center section easily, and you wont have to maneuver a wrench behind the grill to tighten the rear bolts.
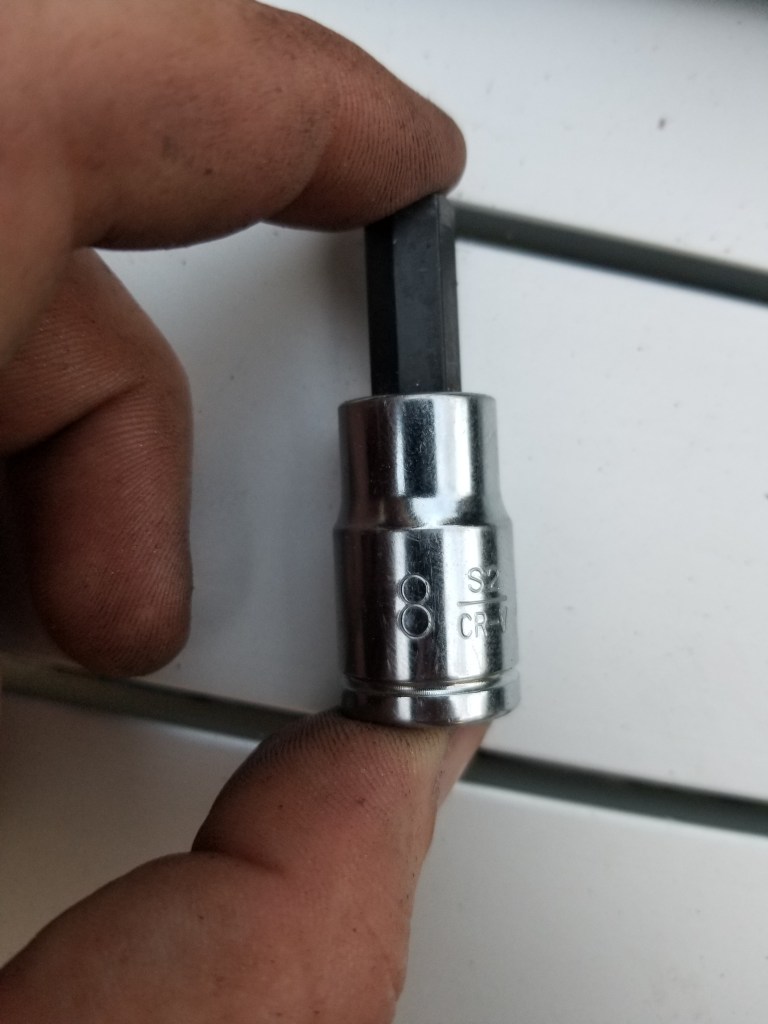
3.Now bolt the center section to the frame mounts using 2 allen head bolts (8mm). Youll find that the center section will rest on the frame mounts so that 1 person can easily lift it into place and bolt it in. Tighten these bolts hand tight, then go back and torque the frame mount bolts to the frame. Once that is done, you can torque the center section allen head bolts.
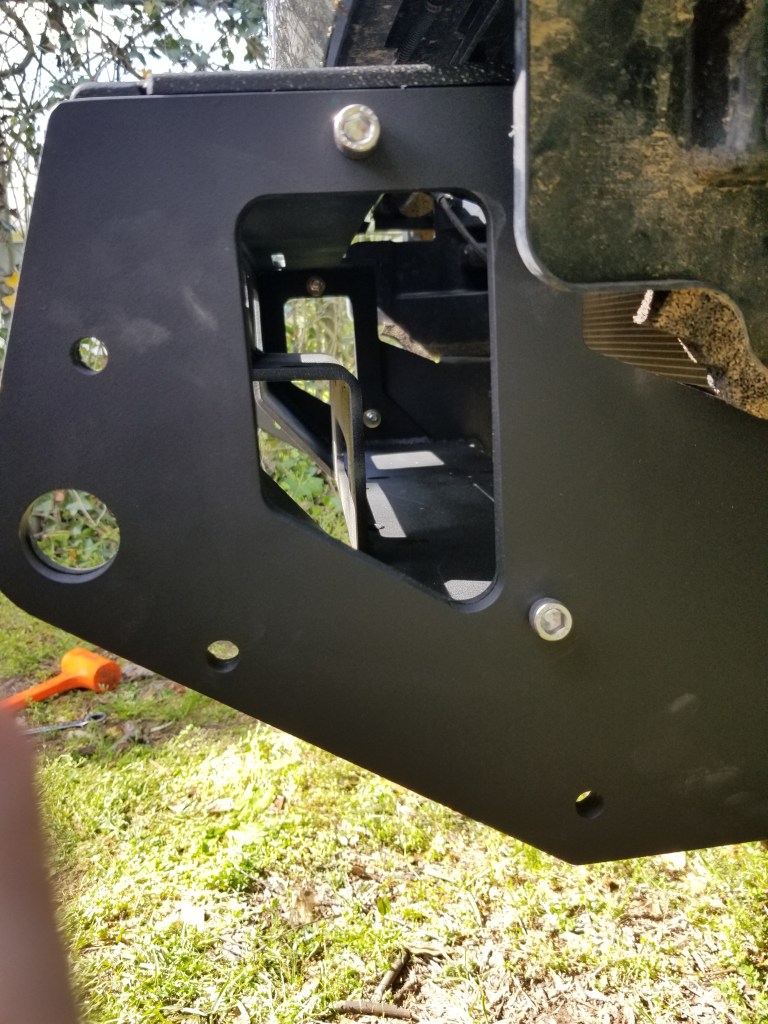
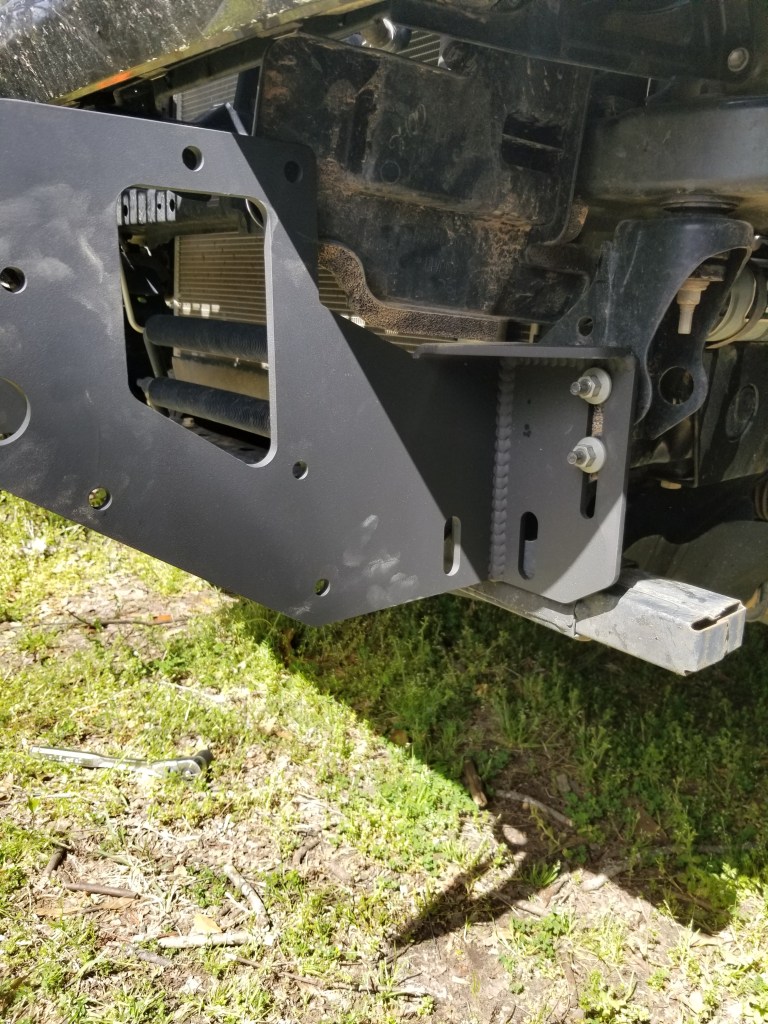
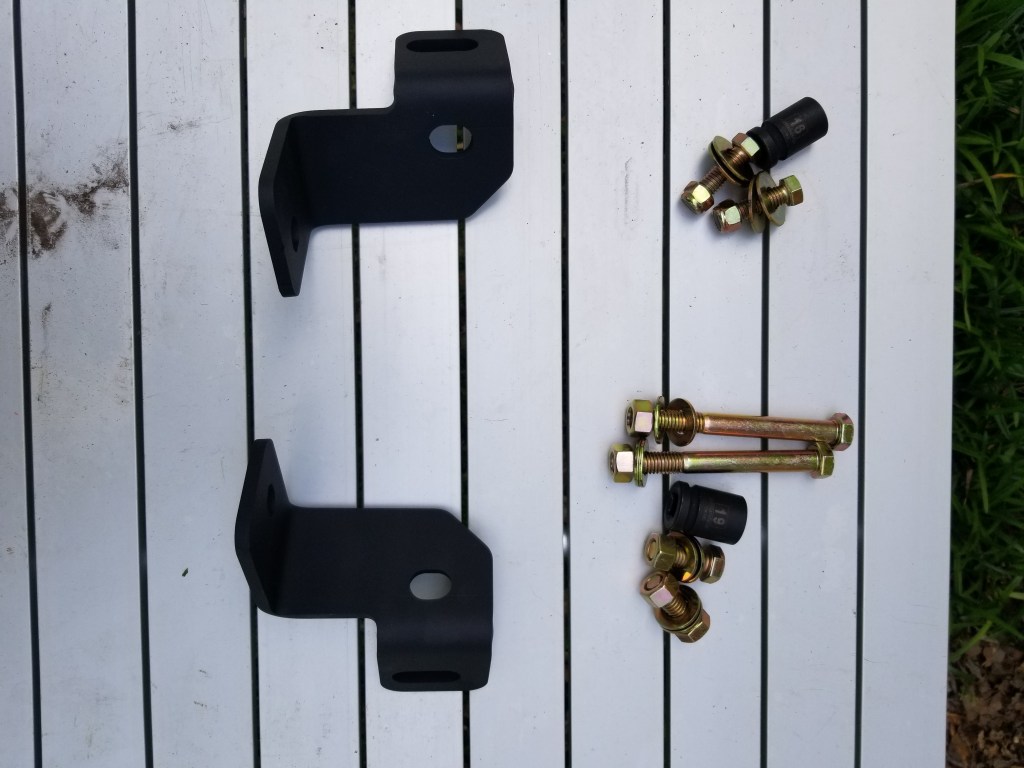
4. There are 2 stiffener brackets provided that tie the bumper in with 3 more bolts, 2 of which got to the Tacoma frame and 1 to the center section of the bumper. The long bolt (19mm) goes through the bracket, the lower hole in the frame mount and to the back of the Tacoma frame, sandwiching the 2 mounts together onto the frame. The smaller bolt (15mm) sandwiches the bracket to the lower side of the frame, through the bolt hole where the original frame cap was mounted. The 3rd bolt (19mm) bolts through the stiffener bracket, frame bracket, and center section to tie them all together.
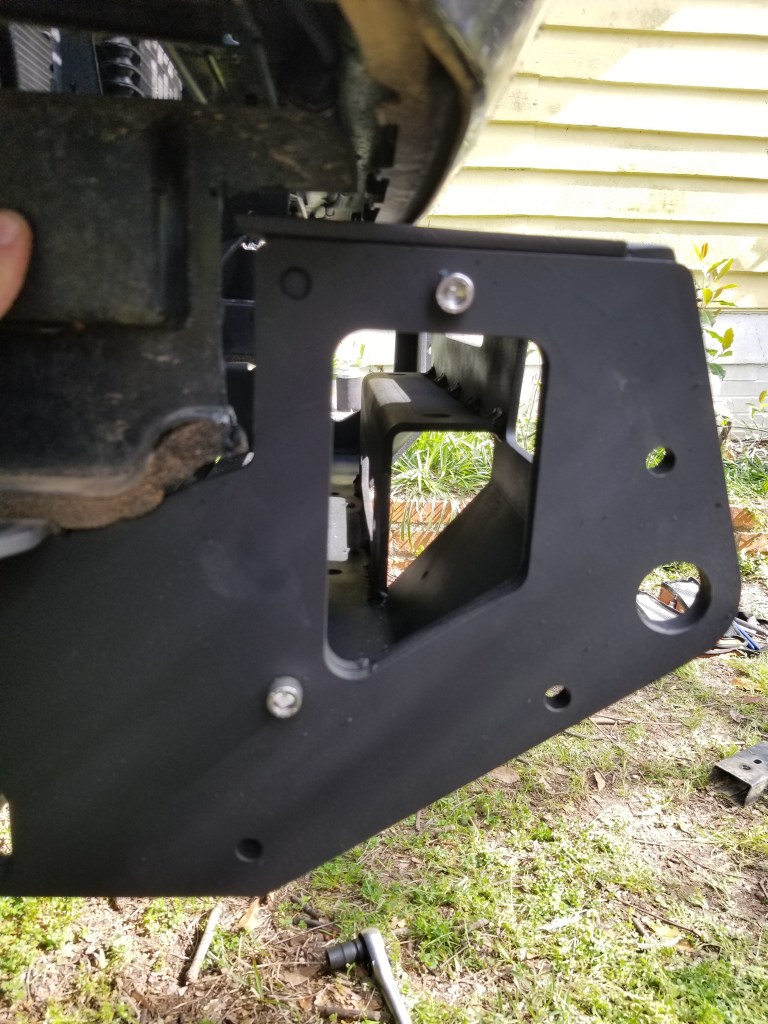
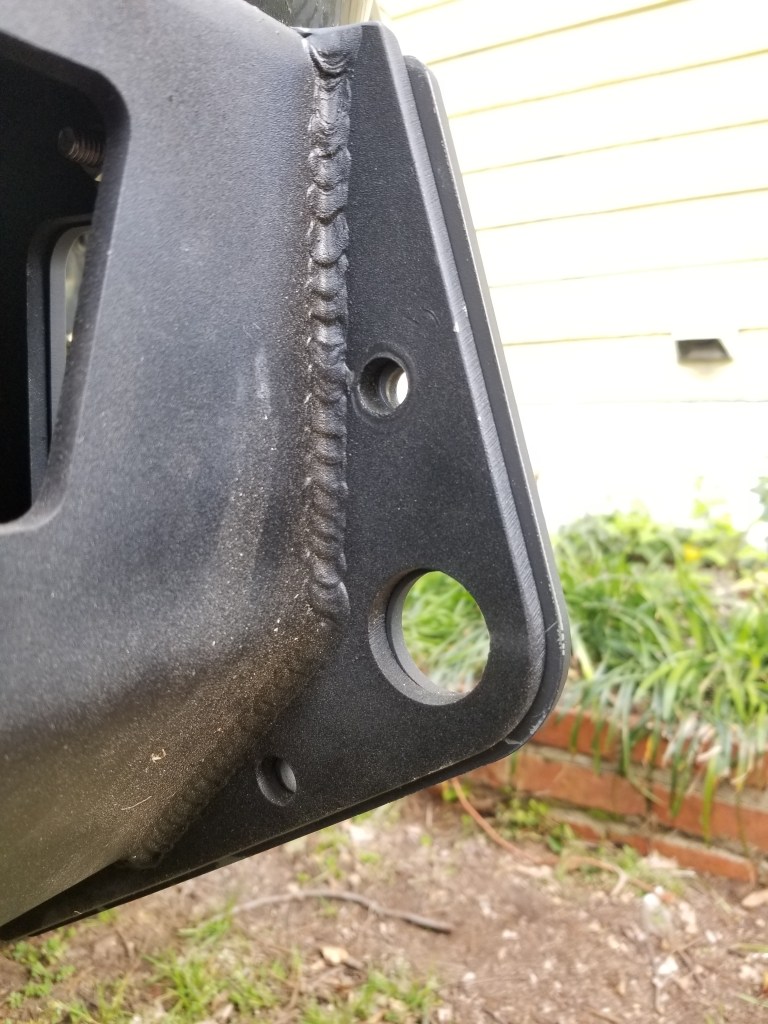
45 The wings are ready for installed. The allen head bolts we installed in step 2 have a secondary purpose (good design by Dissent) which helps align the bumper wing to the center section. Slide the bumper cover over the joint of the center section, frame mount, and wing. Then use 3 bolts to tie these together.
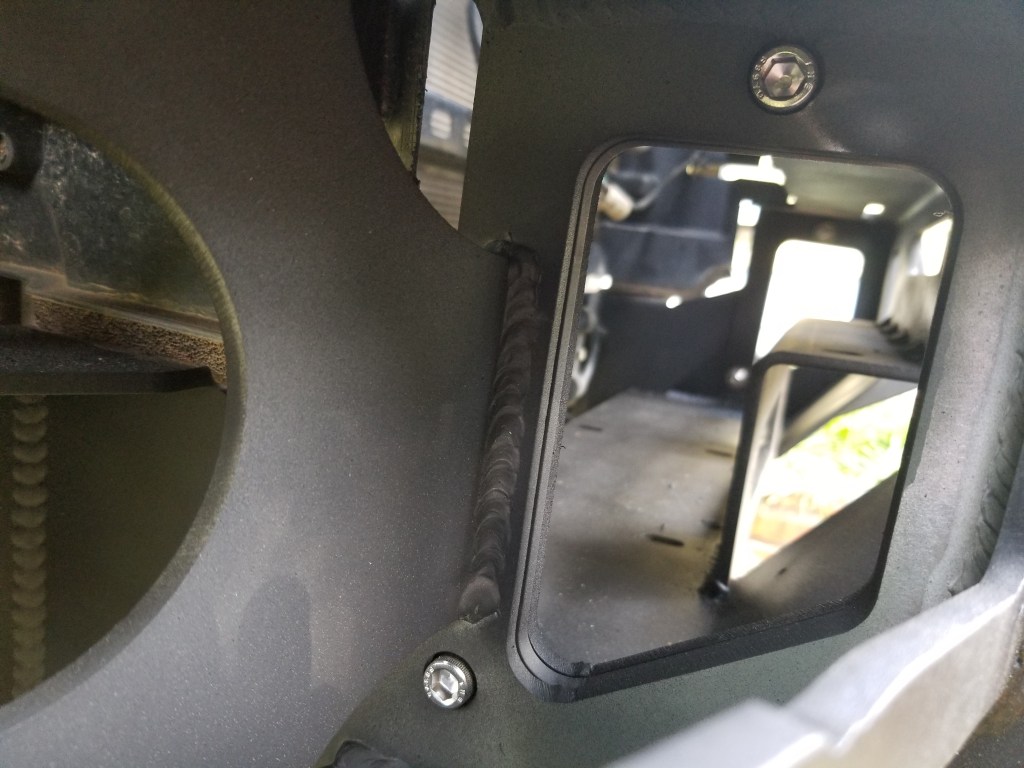
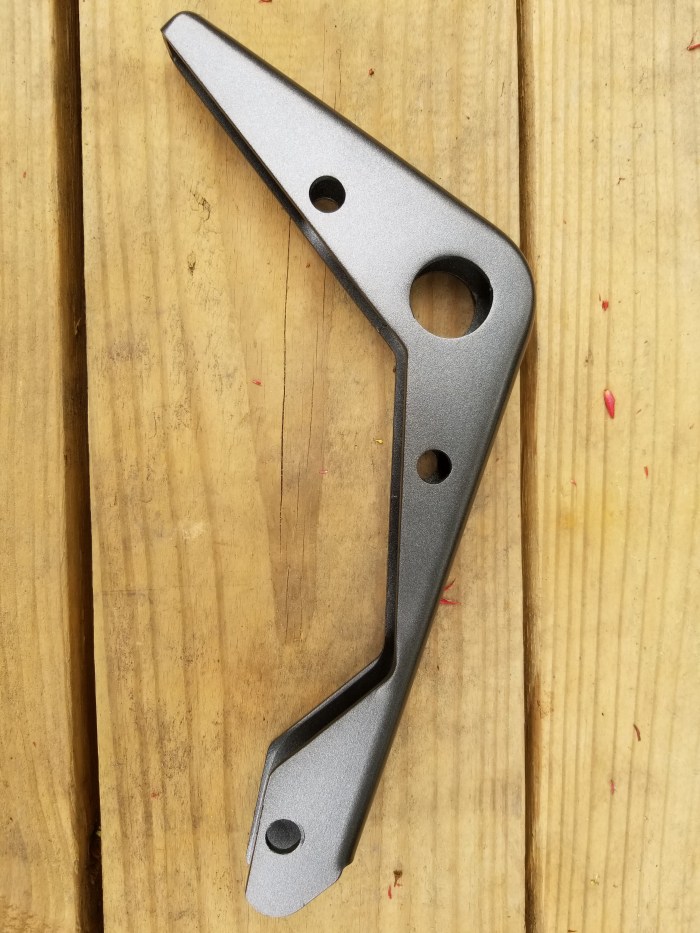

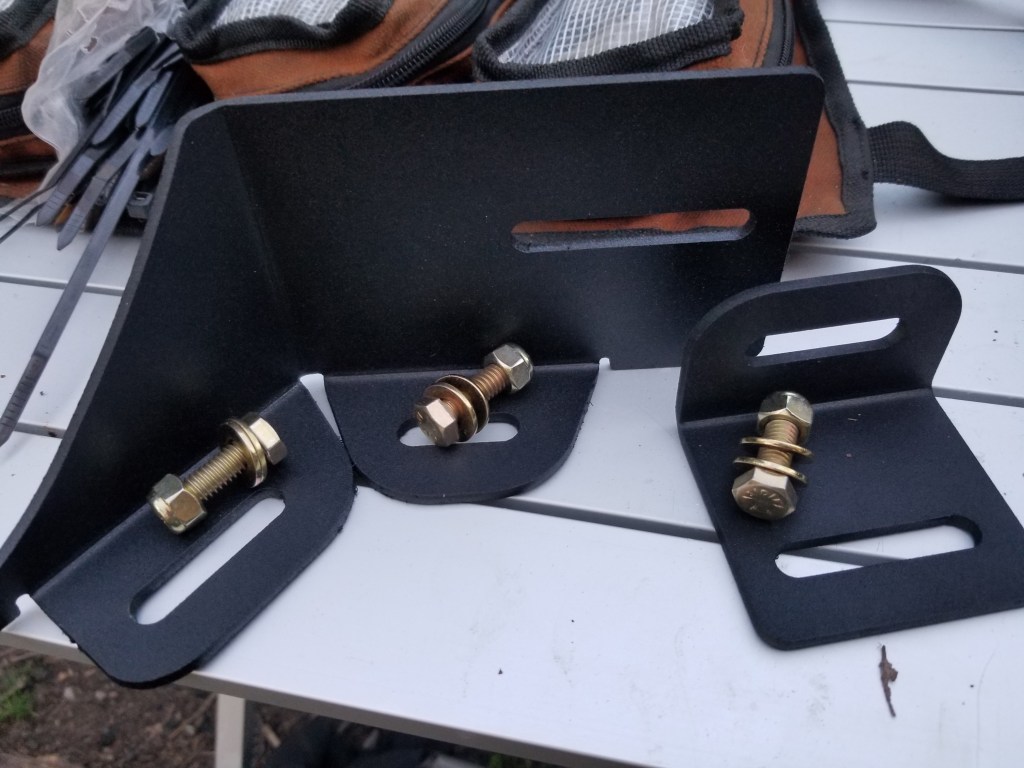
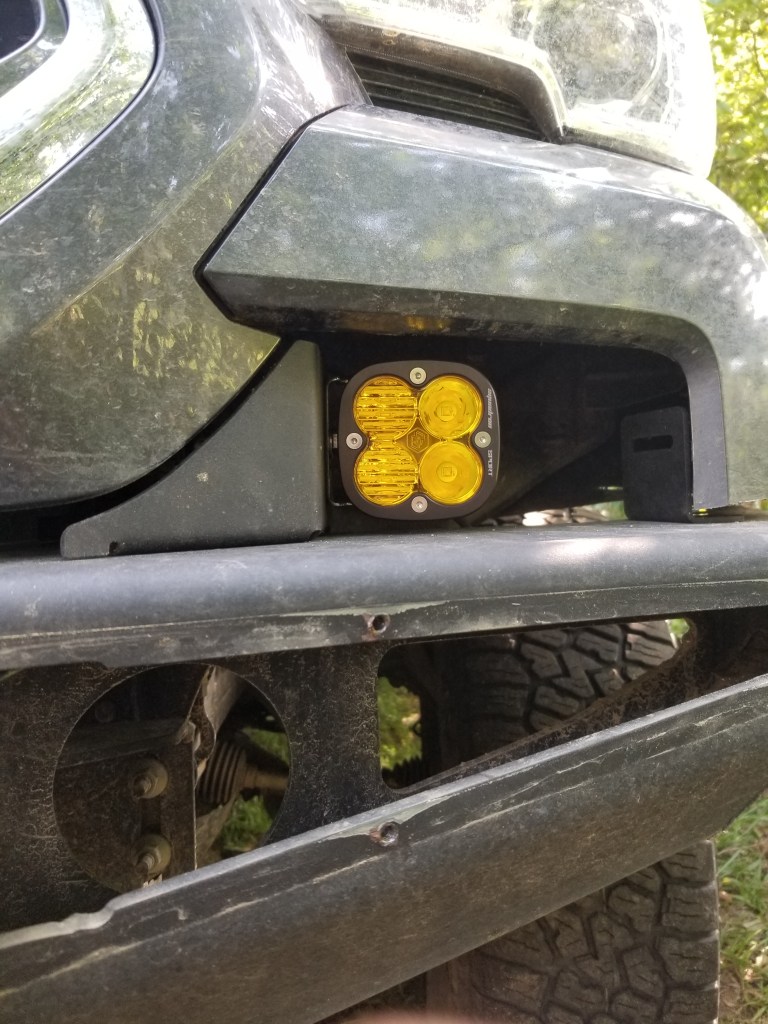
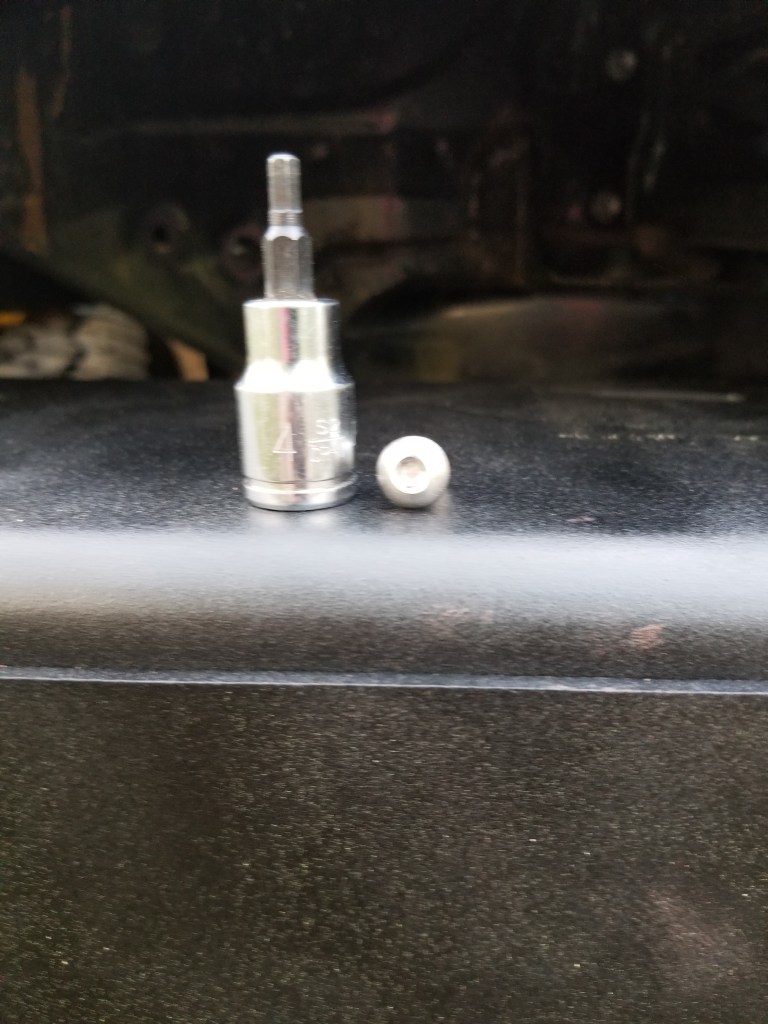
6. Install the light bar mounts. The larger mount goes to the radiator side and requires 2 bolts (13mm), the small mount goes to the outer most side and requires 1 bolt (13mm). Since I mounted my Baja Designs pods sideways, I had to rotate the lens and face plate so that it would be in the upright position. This is easy to do using a small allen wrench.
7. The wing face plates are installed using 5 small allen head bolts (4mm).
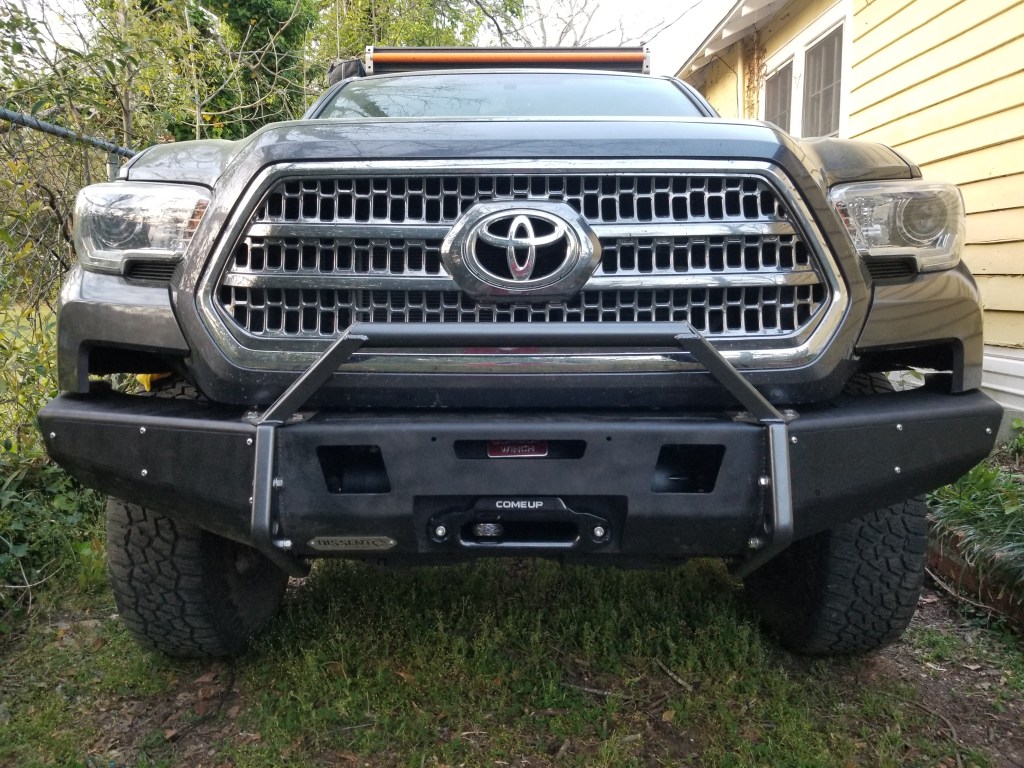
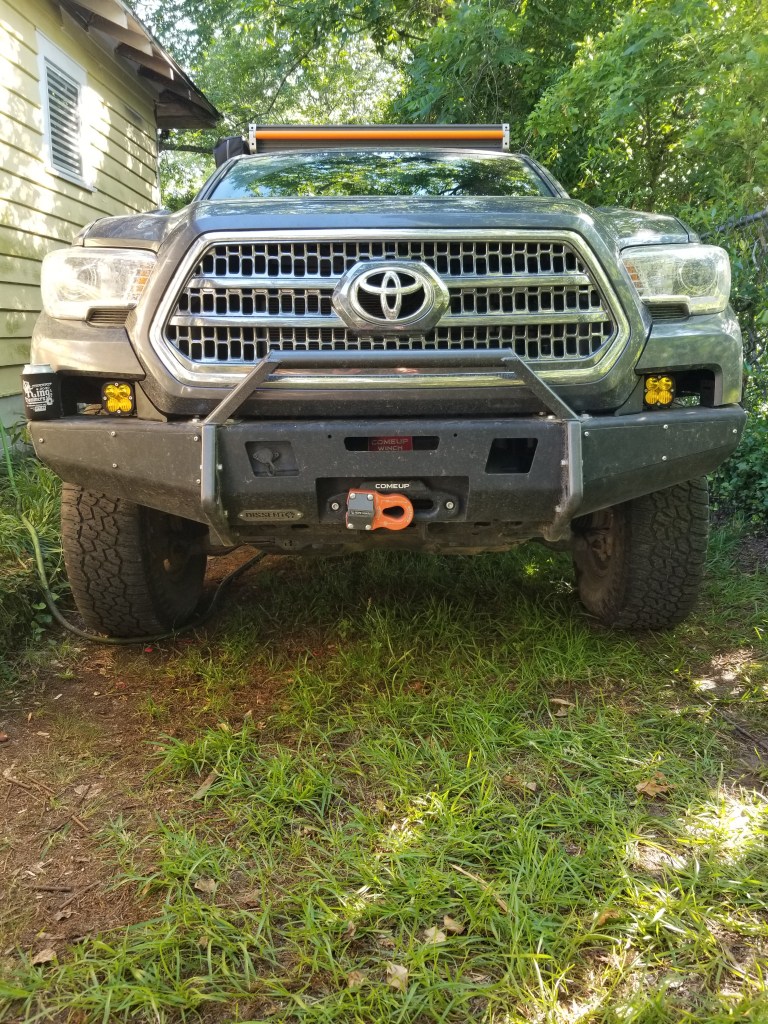
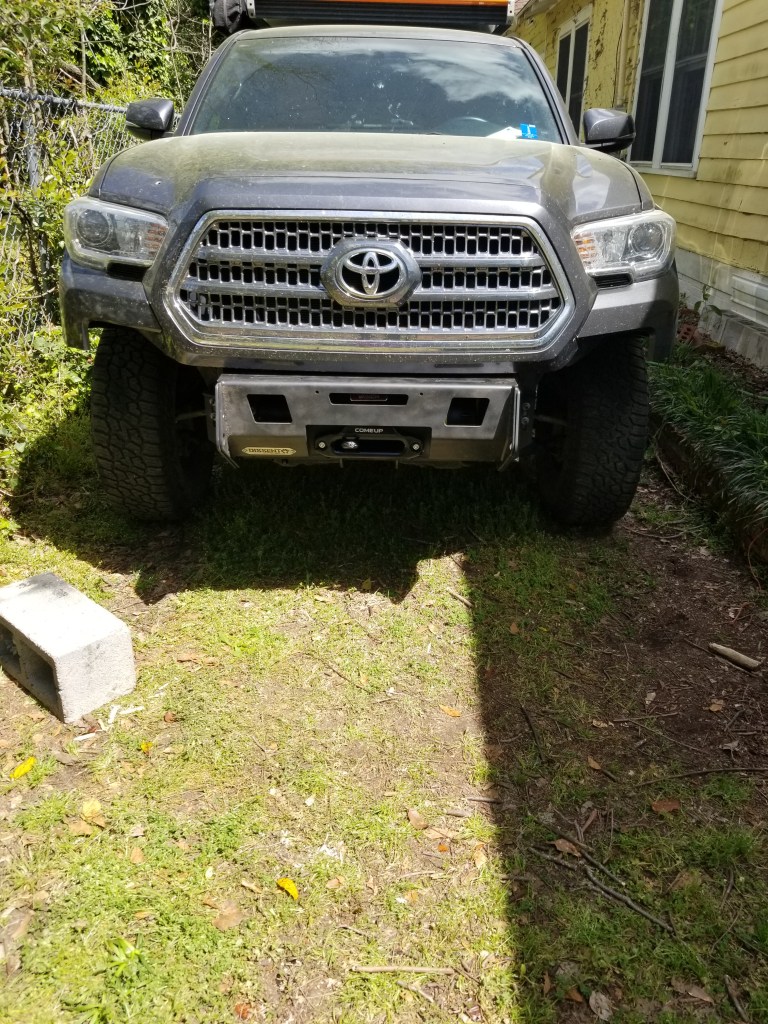
Youll need to install your winch link (I used a Factor 55 Flat Splicer) and wire your lights. Now, stand back and enjoy the fruits of your hard labor.