
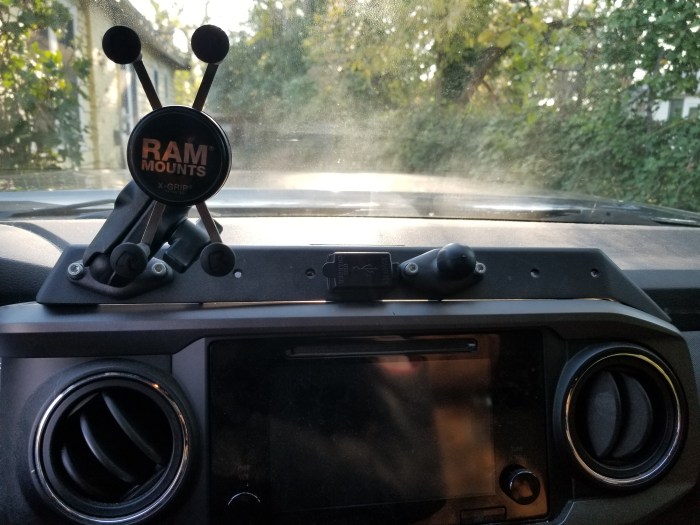
This mod has become one of my most used on the Tacoma since Georgia passed the hands free law. I added this to the Tacoma to have a nice place to mount my phone and tablet when offroading. This is a very sturdy mount that accepts ram mounts products to easily mount anything you need where you want it, an easy to access area.
install
1. Check the packaging, UPS beat my box up pretty good but ExE made sure everything inside was wrapped in foam and well taken care of. A+ on the packaging, + a free sticker

2. Begin the install. You start by pulling firmly on the radio bezel, it feels like youre going to break something but it comes off with pressure. You will be installing and pulling the bezel off several times so you will get used to it.
3. Undo the 4 10mm bolts holding the radio in. You can leave the radio hanging but I chose to unplug it because I wanted to get it out of the way and make it easier to connect the wiring.
4. Pull the A/C bezel off (took this idea from @Hodakaguy build thread). This is an extra step but this made it easier for me to connect the wire taps and its easier to see what youre doing, I also took the time to check my wire taps with a voltmeter to make sure all was well. The trick to removing the A/C bezel if on the left side (close to the steering wheel) you will have to unclip a small section of the lower dash panel for the steering wheel. Youll have to pry it beck a little to get the A/C panel from behind it, it has a small U that ties the two together.
5. Find your 12V accessory plug and disconnect it. Pull the plug up towards the A/C panel area so you can see the wiring. Use the supplied t-taps to tie the red (positive) and purple (positive) wire and the black (negative) and white/black (negative) striped wire together. Try not the drop the taps, they are hard to dig out (ask me how I know).
6. Run the T.P.A.M. harness up the upward left hand corner of the radio and push the radio back into place. Start by installing the Lower 10mm radio bolts first. Then pull your supplied T.P.A.M. mounts and install them with the upper 10mm radio mount bolts. The shorter mount goes on the left/drive side and the longer mount goes on the right/passenger side.
7. Grab the radio bezel you removed and your T.P.A.M. and tape or clamp the T.P.A.M. to it. Be sure to slide the T.P.A.M. as far left/driver as it will go and get the rear side flush with the radio bezel. You will want to clamp/tape it to this spot then use a punch (+ screw driver in my case) to mark the 2nd and 6th mounting holes. You will then use a 1/4″ bit ( I used a step bit) to drill the holes out.
8. Reinstall the radio bezel and look into your newly drilled holes and check that you can see the mounting bracket, You will want to line the mounting bracket up with the holes so that you can use 2 of the longer supplied screws to mount the T.P.A.M.. Check the fit by mounting the T.P.A.M. to the bezel and bolting 2 of the longer screws to the mounts. Once you have the brackets adjusted remove the bezel and repeat step 7 to mark the remaining 4 mounting holes.
9. Be sure to make clearance for the wiring as well in the back of the bezel towards the left/driver side. Once you are done drilling mount 1 of the longer screws into the 1st (driver) mounting point. Then install the remaining shorter screws, nuts, and washers in the other 3 holes. Now reinstall the bezel with the T.P.A.M. mounted (plug your wiring connectors into the usb port before pressing the bezel into place) and install your last 2 longer screws to the mounting brackets and you are complete.
